
In this post there are two simple step-by-step tutorials of how to illustrate a cartoon style and a more realistic style…
Cartoon
Step 1 – Draw your sketch

Have some fun with this, if you get what you want on paper the first time then great but don’t be afraid to experiment.
You can exaggerate features when drawing in this style, notice how the positioning of the features in the sketch are normal but I have played around with the sizing. The eyes are massive but the nose and mouth are tiny, the face shape itself is angular with a very pointy chin.
Step 2 – Start to ink your sketch in Illustrator
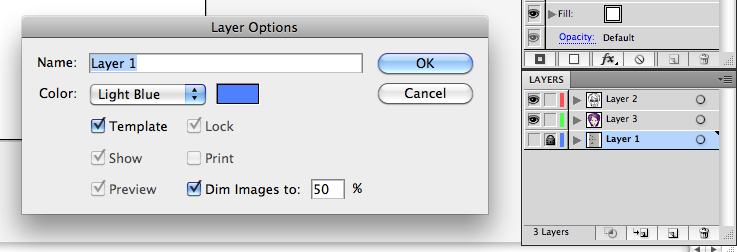
Once you are happy with your sketch, transfer it into Illustrator, you will want to put the image on a locked layer which is set to ‘template’ with a transparency of 50%. You can name this layer ‘sketch’ if you want.
This now means you can ink your sketch clearly on a layer above this one.
I started by drawing out the outline of the hair, and then started adding in the features, jawline and neck, all using the pen tool.

The tapered effect was achieved by altering the ‘profile’ of the pen stroke within the stroke palette.

Step 3 – Colour
Create a third layer inbetween your sketch layer and inked line layer.
Transfer the shapes you created from the line layer in order to colour block your picture.

You can also trace under the lines you created by locking the line layer, this is how I drew the whites of the eyes and the purple colours of the mouth.

Step 4 – Adding details

You can see here that I have added gradients, shadows and highlights in order to make the artwork not look so ‘flat’, you can really be creative here and use your imagination in order to create your cartoon character! All of these extra details were added on the 3rd layer.
‘Realistic’ Style
Step 1 – Choose your picture
For this style you can either draw your face as in the previous tutorial or use a photo. As long as you have the rights to the photo I would suggest this option as the end result is usually better.

Step 2 – Illustrator
As in the cartoon tutorial, place your photo on a locked template layer with a transparency of 50%.
Step 3 – Inking
For this style, we are going to be using coloured lines as they give a softer, more realistic effect. The black lines work for the cartoon style as they make the image stand out or ‘pop’ off of the page, with this style you need to consider the skin tones, shadows and light a little more.

It is easier to ink the drawing using a bright colour so you can see what you’re drawing, in this case I have used red as it really stands out.
Step 4 – Colour
Once you are happy with your lines you can turn them the correct colour and also create a third layer for you to start the main colour up.
It is a very similar process to the first style, its just a case of creating an image that is as close (as you want) to the original photo as possible.
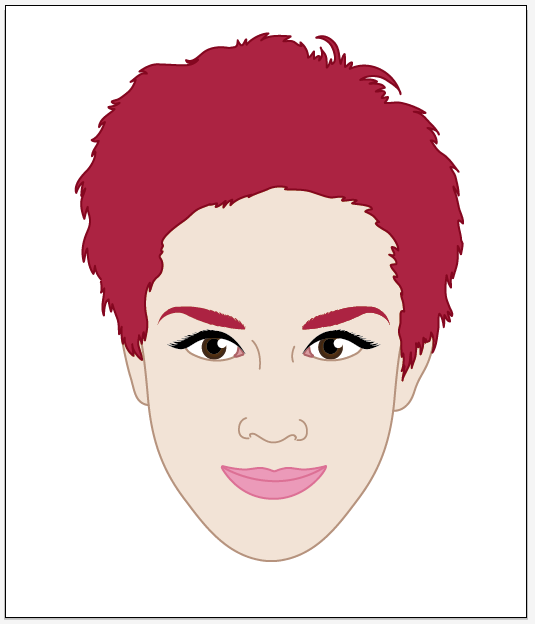
Step 5 – Adding details
At this stage, you can add a lot of nice detail. Again I have used gradients, shadows, feathering, transparencies and also blends to get a good skin tone and feathered effect with the hair.
 We hope that this has been an interesting and useful read!
